Showing posts with label Sidelights. Show all posts

Thursday, March 9, 2017

Repair Stained Glass Side Lights

This rose-themed sidelight was damaged by a moving company.  It was split in two pieces as shown.  Here's how I went about repairing it.

Measurements are appx 32" long by 5-1/2" wide.  Notice how it is split into two pieces.  Even the metal framing broke in two.

At this point, I've removed the thin metal frame that was around the panel.  Here I've cracked out some of the glass which needs to be replaced.

 I've taken off the old copper foil and solder, and now I'm tracing the opening onto a piece of Manila folder.  This will serve as my pattern to cut the replacement piece.

Here is the pattern piece and the glass I cut with it.  And a few of my tools: the purple oil-filed pistol grip glass cutter, the blue "running pliers" which snap glass in a straight line, and my "groziers" which I use to nip off smaller pieces of glass.

Now I'm doing the copper foil process.  I've added foil to the inner border and am burnishing the copper on the flower by using a "fid" or flat plastic wand.  The replacement piece has also been foiled.  

 I'm using the replacement piece of glass as a "place holder" while I smash out the cracked glass on the opposite side.

 I cut most glass by hand.  Here I've decided to use my electric ring saw to cut some particularly deep curves.

Now I've replaced and foiled three formerly-cracked pieces of glass.  I have one more to do, on the top side of the flower.

Now all the cracked pieces have been cut and foiled.  Here I've used push pins to secure the entire panel in place so that it doesn't shift as I work.  I'm in the process of brushing on liquid "flux" which is a catalyst which enables the solder to flow freely over the copper.

Here is this section, fully repaired.  After I soldered the foil, I cleaned it thoroughly, then brushed with black patina to make the solder turn black.

With my customer's OK, I upgraded her framing material from the kind on the left, which is very lightweight, to the heavier "channel" on the right which is beefier and will stand up to more abuse.  Both types of framing are made of zinc.

My husband Eric custom-cut the heavier zinc for the panel.  Then I put a metal "fence" around the new frame to hold it in place.  The "fence" is held in place with pushpins which sink into my work surface, which is made of Homasote, a sound-proofing building material.

Another view of the repaired section and the new, stronger frame in place.

Here's Eric, cutting the new zinc frame.

With the "fence" still in place. I'm now soldering the lead lines to the frame.  There are many contact points, front and back.  This will firmly secure the frame to the panel.  I also solder the mitered corners, front and back.

My customer wants this to be a hanging piece now, so I used 12 gauge wire to make her two new hooks.  Then I soldered those to the back of the piece, directly to the frame.

Notice that the hook is on the vertical side of the frame.  This is the best position to avoid loosening or bowing over the years.  Chains will be attached which will go straight up.

For a final touch. I'm now applying black patina to the zinc frame.  After the patina sets, I thoroughly clean it.  When the panel is dry, I wax and buff it for a nice shine.

And here is the panel, fully repaired and strengthened.  As with most moving companies, hers reimbursed her for the repair.  Thank you, Rose, it was a pleasure repairing this for you!
For more information on my other projects, please click here to visit my website.

If you're on FaceBook, please click here to "like" my BoehmStained Glass Studio page to keep up with all the latest projects.  Thank you!

Tuesday, March 17, 2015

Repair to Stained Glass Sidelight

This pretty sidelight came to me from the same customer as the previous post.  (Repair to Stained Glass Floral Square .. Click here to view).  It was also made by her mother and so has great sentimental value.  Her daughter recently got her own place, so this sidelight is to be a special gift for her.  It has three broken pieces .. Here's how I went about repairing them.  Click on any photo for a closer look.

Here's a "before" photo with the upper left panel removed.  I posted it to show the size of the panel, which is about 6' tall and 10" wide.


The first step in any repair is to find matching glass.  Fortunately, I was able to find the lightly textured amber from another stained glass artist whom I happened to meet with on the same day that my customer dropped off the panel.
The clear glass was another story.  I went on a road trip to Maryland and brought back some of what I thought was a perfect match, but it was too shiny.  I then ordered the same style of glass, but from a different manufacturer in Washington State.  Voila!  Perfect.
So once I knew I had the correct glass, I went in, one piece at a time, and cracked out all the glass from the first affected piece as shown below.  Needle nose pliers and safety glasses are essential at this stage.
 Now all the glass is out.  I've also pulled off all the old solder and copper foil.  Here I'm cleaning off the old adhesive using Goo Gone.  Works wonders.
 Next, I've applied copper foil to the interior border.  Then I tucked a piece of Manila folder underneath the panel and traced it as shown.  This becomes the pattern for the replacement glass.

Here I've traced the glass ..

And I scored it with this pistol-grip glass cutter.  Here I'm using the metal end of the cutter to tap along the score line to make it crack.  You may notice that it didn't exactly crack on a straight line like I wanted it to.  That's typical for glass!  Fortunately, the crack is outside the line, so I simply separated the piece and used another tool, groziers, to snap off the glass exactly at the traced line.

Next, the edges of the glass get run through a wet grinder.  This is done to protect the fingers (I'm wearing "rubber fingers" here) and to allow the copper foil to adhere properly
 Now I've applied the copper foil to the replacement piece.  I'm using a "fid" to press the foil onto the glass.
 This is an edge piece, so I intentionally cut it a little wider so that it would fit into the groove in the frame.  This way, I did not have to remove the entire frame in order to re-insert the new glass.  It worked like a charm.  I've taped the new piece in place from the back.  And here I'm applying Blu-Glass Liquid Flux to the copper foil seams, using a metal acid brush.  This chemical can be caustic.  I'm always careful to avoid contact with skin, and I wash thoroughly after use.
 Onto the next piece.  Here I'm using a pistol grip cutter to score another cracked piece.
 After tapping repeatedly on the piece, I removed all the old glass.  I also pulled off all the old copper foil and solder using needle nose pliers.  Then I cleaned the borders using Goo Gone.
Again, I'm using liquid flux on the copper foil .. This makes the foil ready for the solder which followed.
 Here's a photo of the third and final piece to be replaced.  At this point, I've removed all the glass and am in the process of tugging off the old foil and solder.
 Now all three pieces of glass have been replaced, foiled and soldered.  Next, I'm applying a mixture of copper and black patina to the solder.  This piece was originally soldered in copper but has darkened with age.  By adding a bit of black to the copper, I was able to exactly duplicate the color of the patina.

 Here's the other side of the panel which shows the three replaced pieces.  They are copper foiled only.  So I went in and applied the liquid flux, then the solder, then the patina.  Between the solder and the patina, the areas receive a thorough cleaning. 
 
 As a final step, I carefully washed and scrubbed the entire piece, and then applied Livia Stained Glass Finishing Compound, which is a wax which protects the patina and brings out the shine in the glass.  And here it is!  Finished and ready to be passed from grandmother .. to mother .. to daughter .. to be enjoyed for many years to come.  Thank you, Gwen for bringing me your mother's lovely artwork for repair.  It was a pleasure!

Please visit my website to see my custom windows and repairs (click here).  And if you are on FaceBook, become a fan and I'll keep you up to date on all my stained glass projects.  Call me any time at 201-600-1616 or email with your questions. Thanks!


Monday, July 28, 2014

Stained glass Sidelights by Front Door

As the final touch for a newly restored home, we were asked to duplicate the original, leaded side lights as shown below.  They are approximately 6" wide and 33" long.  The originals were created using clear window glass.  The diamond-triangle pieces were done using a textured clear glass.  Here's a photo of the original leaded panel.  (Click on any photo to enlarge).


The view of the front door from the inside of the home showing where the side lights are located.
 Another view of the original side light.
 Here is my design for the duplicates.  I followed the same proportions.
 The pattern making process .. Tracing the markings on the "cartoon" onto Manila folders using carbon paper.  The layers are tacked to my work surface with push pins to prevent shifting.
 After the pattern pieces are traced, they are cut using stained glass shears, shown on the left.  These are double-bladed and cut out a thin piece of paper which allows for the copper foil which will follow later.  To the right are standard scissors, used to cut the outer border of the pattern.

 Now the pattern pieces have been cut.  Many have been organized into recycled envelopes as shown.

After looking through several examples of clear glass, my customer made a nice choice, clear waterglass cut in a vertical orientation.  Rather than do just clear for the diamonds and triangles, we decided that a nice green would work well with the exterior of the home and the furnishings.  I had a large sheet of hand-blown green glass which was given to me by a gentleman who was giving up his stained glass hobby.  The glass is a medium shade with lovely bubbles throughout.  Thank you again, Mr. Johnson, I hope you see your glass being put to good use.  It was the ideal choice for this project!

Below, I'm using a pistol grip cutter to score the outline of a piece of clear waterglass.

After the score is made, I snap it off using these blue "running pliers".

A few pieces of the green traced and cut.  After each piece is cut, I grind the edges in a grinder.  This is to assure safe handling and also to promote the adhesion of the copper foil.
 My husband Eric sets up a fence or "jig" around the borders of each side light.  This is to ensure that the cut pieces do not shift.  Here he's verifying the measurements.

 Now all of the glass for both side lights has been cut and laid on the cartoon.

I remove each piece, one at a time, and apply black back copper foil as shown, to the center of the edge of each piece.

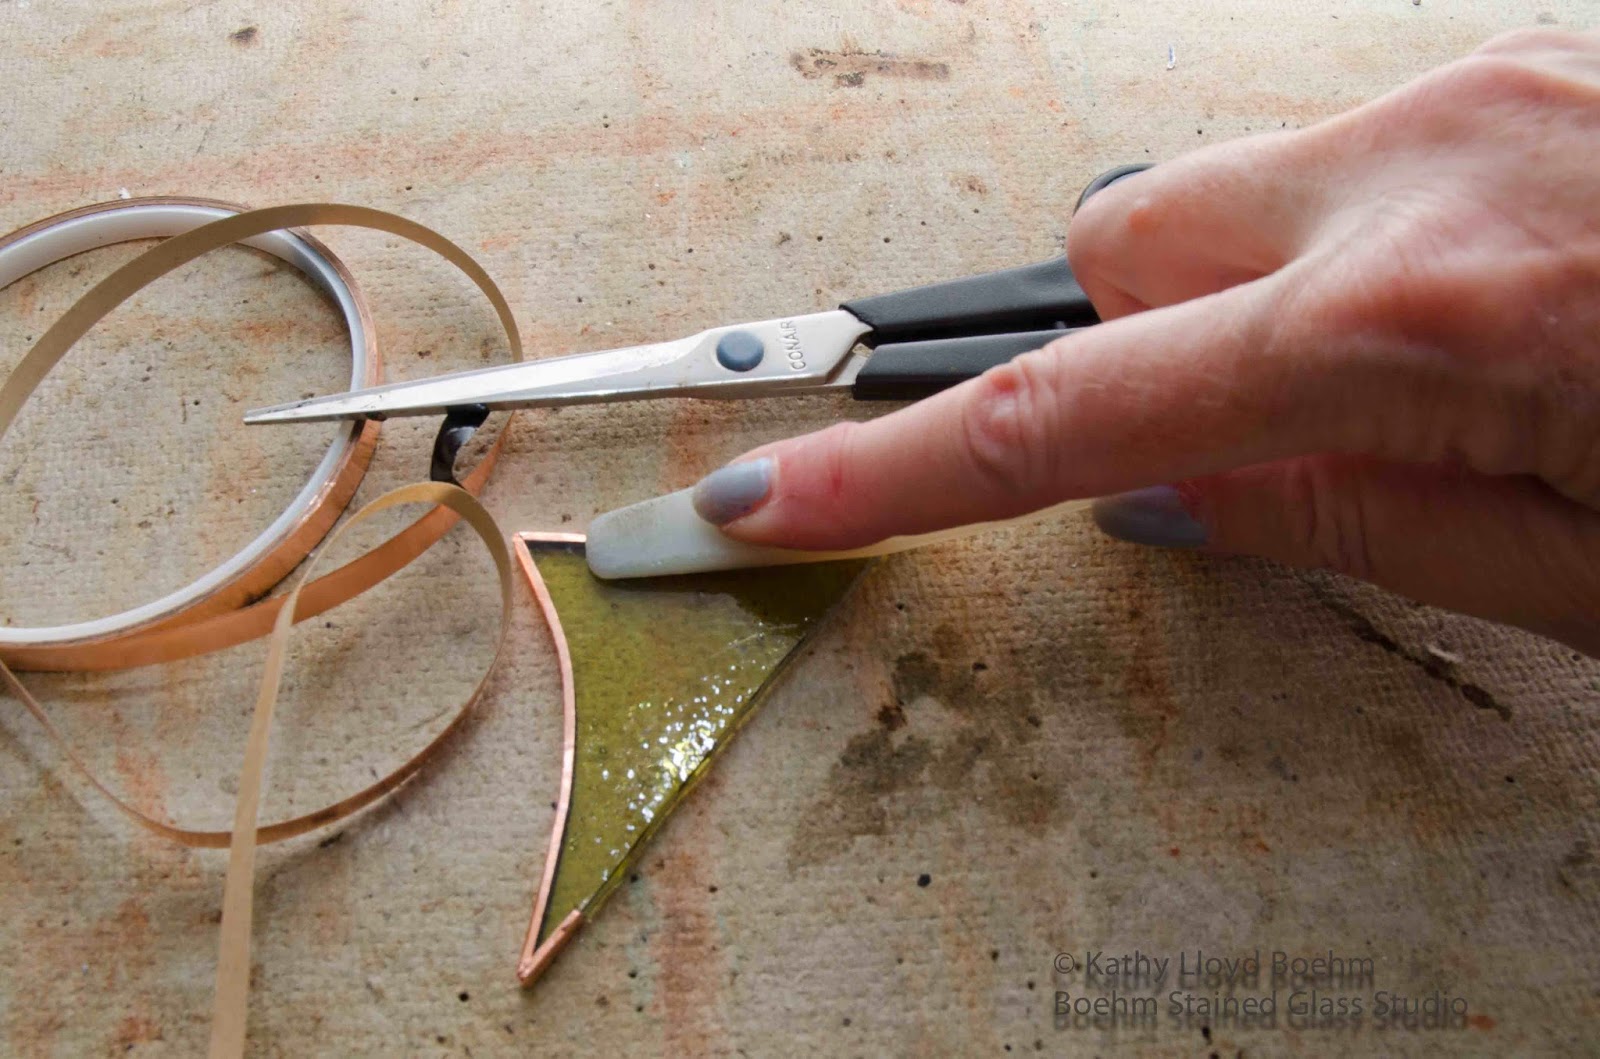
Using a "fid" or flexible plastic wand, I press the copper foil onto the glass.
 Now all of the glass has been copper foiled.

 Next, using a metal acid brush, I apply Blu-Glass Liquid Flux to the copper foil.  This is an agent which allows for the soldering.

Next I "tack-solder" the pieces as shown below.  I apply a dot of solder to the intersections of the pieces and at key points throughout the panel.  

 After tack soldering is complete, I remove the "jig" and slide out the cartoon.  This protects the cartoon from damage from the chemicals which follow.

Now I've fully soldered the front of each panel.

Next, I spray "Kwik-Clean Stained Glass Flux & Patina Cleaner" to the solder. Then I towel it off and allow it to dry.

My husband Eric is shown here cutting the angle for a mitered corner of the metal frame, which is made of zinc.

Here, Eric is placing the metal jig back onto the panel.  This time, its to hold the frame in place.  He'll do this for all four sides of each panel.

 Below, I've fluxed and soldered the mitered corners.  I've also soldered all the lines to the frame.  This gives added strength to the overall panel.

After I've cleaned off the flux again with Kwik-Clean, I apply Novacan Black Patina to the zinc frame and to the soldered lines as shown.  To prevent contamination of the supply, I take patina from the bottle cap and discard whatever is not used from the cap.

 Another cleaning with Kwik-Clean spray, and the panels are almost ready.

 Here they are, side by side after the patina has been applied.
 

I applied Liva Stained Glass Polish to both sides of both panels.  I propped them up to dry.

 And here is one of the two completed panels, ready for installation. It is resting in a custom-made holder that Eric made for me.
 Thank you so much Janice, for calling us in to replace your side lights.  It was a pleasure creating them for you.  We can't wait for you to see them "in person"!


Please visit my website to see my custom windows and repairs (click here).  And if you are on FaceBook, become a fan and I'll keep you up to date on all my stained glass projects.  Call me any time at 201-600-1616 or email with your questions. Thanks!