
I prepared three different designs and rendered them, in full color, in several combinations of the colors we decided upon. The final choice is this one .. It uses Clear Granite glass, Mystic Purple, Turquoise and Blue opalescent glass, with a bevel cluster in the center. The bevels will catch and transmit light and loosely mimic the shape of the center of the nearby window.

When panels include bevels, they always go down onto the pattern first, since their size cannot be adjusted.

With the bevels in place, I trace them and the rest of the "cartoon" onto file folders taped side by side beneath carbon paper. All markings and colors are transferred.

The border of the pattern is cut with regular scissors. However, the pattern pieces are cut with specialized stained glass pattern shears as shown. They cut a thin strip of paper between each piece. This allows room for the copper foil which will follow.

I generally cut all of one color at the same time. I started with the Mystic Purple glass for this project. I've traced the square corner glass pieces as shown and am ready to trace the ovals around the bevels.

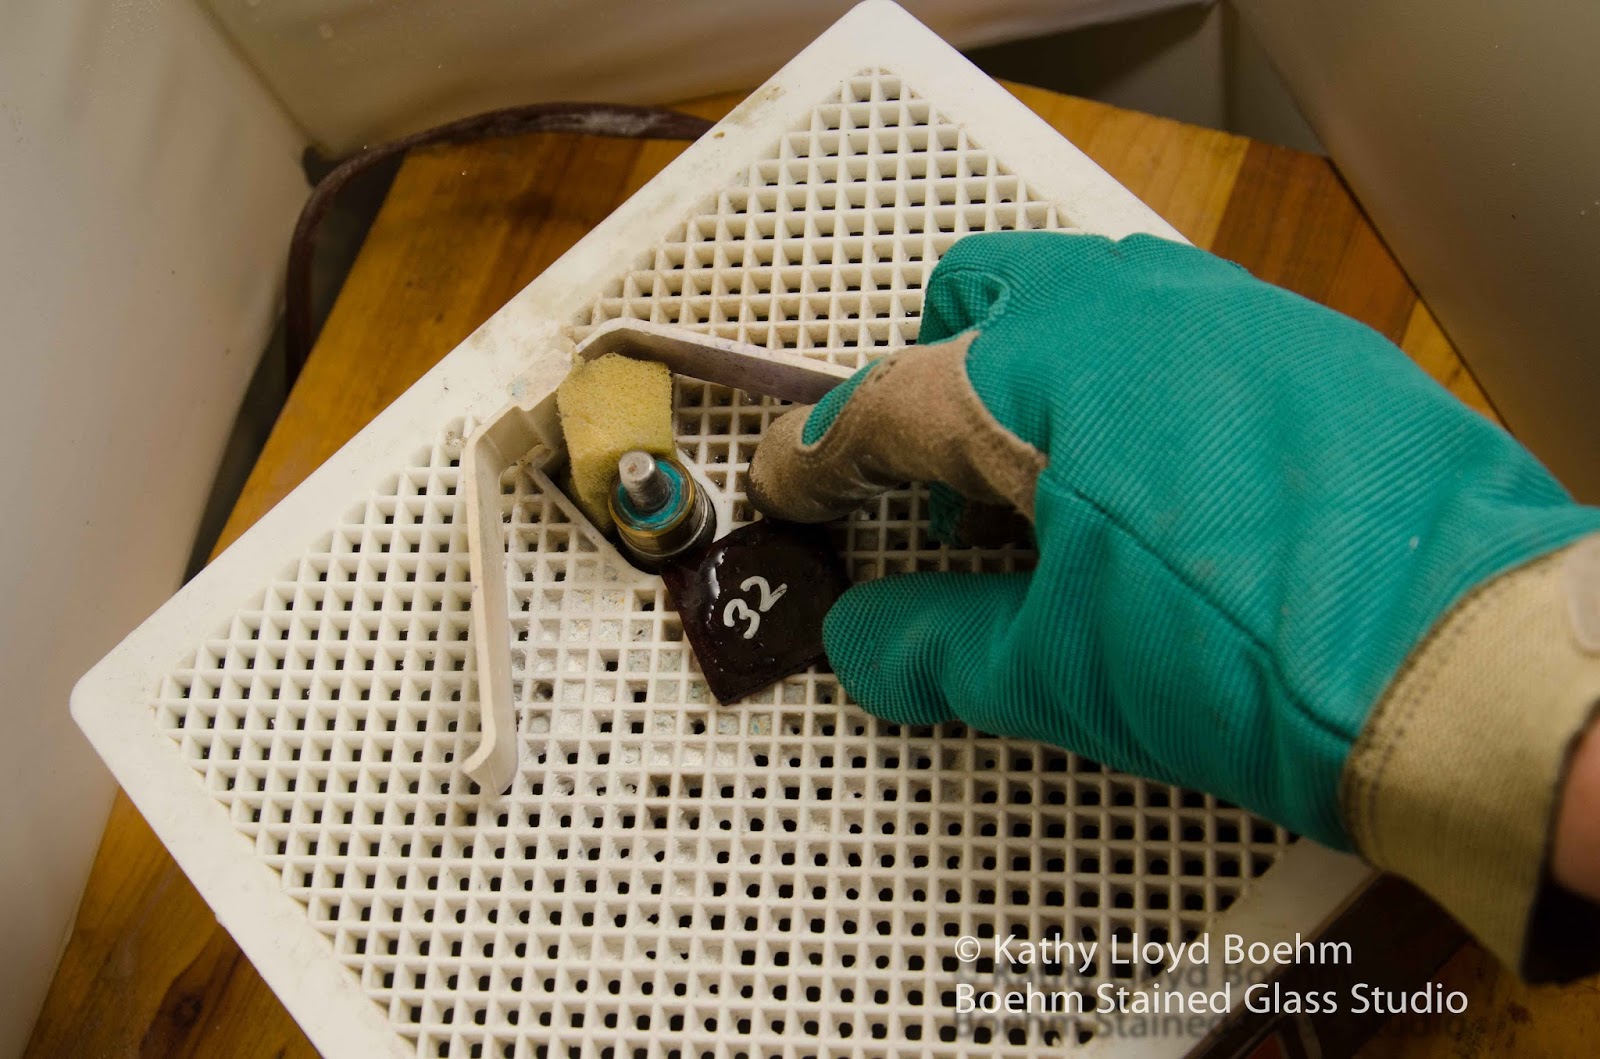
The glass is scored along the lines using an oil-filled pistol grip cutter (shown on the table). After scoring straight lines, I use these blue "running pliers" to snap the score as shown. For curves and smaller pieces of glass, I use metal "groziers". (Not shown)

After several pieces of glass are cut, I grind the edges with an electric wet grinder. For this process, I wear either leather-palmed gardening gloves, or rubber fingers which are available at office supply stores.
With the purple cut, I'm moving onto the Clear Granite Glass. Each piece is traced onto the glass as shown, then cut and grinded. (The groziers are on the table, above the gloves).

Now I've cut all the glass and laid it in place on the pattern or "cartoon". Notice that I've set up a "fence" or metal border around the panel. This prevents the pieces from shifting.

Here I'm applying adhesive "black back" 7/32" copper foil to each piece of glass. "Black back" foil is used when clear glass and black patina are used together. Since the inside of the patina is black, it will effectively disappear after the solder is patina-ed.

Here I'm using a "fid" or flexible plastic wand to press the copper foil onto the glass. This prevents liquids from seeping under the foil and allows for neater soldering lines. If there are any overlapping areas, I trim them with a razor knife.

Note that the "fence" is still in place. All of the pieces have been foiled.

Here I'm brushing on liquid flux which is an agent that permits the solder to gather on top of the copper foil.

This next step is called "tack soldering". I'm applying a small dot of solder to the intersections of each glass piece as shown.

Now that the panel is tack soldered, I've removed the "fence" and I'm sliding out the "cartoon" from beneath the panel. This is to protect it from the chemicals and liquids which follow.

Now the front of the panel has been fully soldered.

Next, the front receives a thorough cleaning with Kwik-Clean spray.

Next, my husband Eric prepares a custom cut metal frame, with mitered edges. The frame is then held in place with push pins.

Here I've soldered the lead lines to the frame, then I've removed the pins. With the frame in place, I'm now able to fully solder the back of the panel.


Once the patina has set and dried, I apply Clarity Stained Glass Finishing Compound. This is a light wax which gives the glass a nice shine and adds a protective coating to the patina.

And here is the finished panel! We hope to install it this week, at which time I will post photos of the installation.


In this photo, taken from the inside of the window, the textures of the various glass can readily be seen. Note the variation in color as well. Lighting is everything. Colored glass is very dynamic .. It looks differently in various lighting situations and at different times of year as well!

Here's the newly installed window with the light coming from the back. This is a more "true to life" rendition which shows the colors under ideal conditions. Another labor of love.

Thank you Carol and Mike for your hospitality and for giving us the chance to spruce up your front door. It was a pleasure working with you!
Please visit my website to see my custom windows and repairs (click here). And if you are on FaceBook, become a fan and I'll keep you up to date on all my stained glass projects. Call me any time at 201-600-1616 or email with your questions. Thanks!
No comments:
Post a Comment